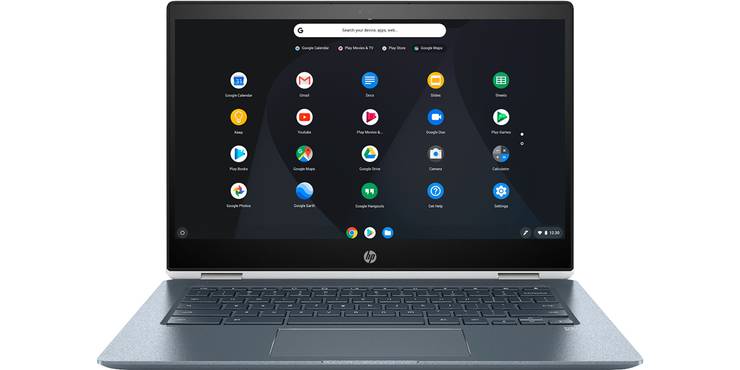
Do you have a Google Chromebook provided to you by your school or recently purchased one for its quality and streamlined processes with Google apps like Chrome? For many people, this might be their first Chromebook and they might not have a full understanding of its Linux-based operating system, especially compared to Apple and Windows computers that have dominated the market for decades. Here’s a quick how-to guide for operating the Chromebook camera to shoot photos and video.
Google first introduced its Chromebook device in 2011 as an alternative laptop or tablet to perform a multitude of tasks using the ever popular Google Chrome browser, as well as many cloud-based Google applications like Pages and Sheets. Since 2017, all Google Chromebooks have been able to run Android apps as well. While the operating system is still fairly new, Chrome OS has expanded to a wide array of laptops, tablets, and all-in-ones to fit any budget or specific requirement. As of 2018, Chromebooks made up 60-percent of the computers purchased by U.S. schools.
Most answers to common Chromebook questions can be found on Google’s Chromebook help section, and this includes how to use the camera. The page offers step by step explanations as well as simulators to allow Chromebook owners to physically interact with the steps on screen. One perk of Chromebooks is that no matter what model you have, the steps for taking effective photos and videos are the same. In addition to that, it’s easy to edit photos and print them, all from one device. Here’s how to do it.
Using Camera Features On Your Chromebook

First and foremost, select the Launcher icon in the bottom-left corner of your screen (it should look like a white circle). Next, arrow up to the full application menu and select the Camera icon. On the right side you will have three options: Select Photo (take a photo), Select Video (begin recording video), or Select Square (take a photo with a squared frame). On the left side of the camera window, you can add a timer for photos, adjust your gridlines, or check your settings by selecting the gear icon in the top-left corner.
In the bottom-right hand corner of that same camera window, you can view your most recent photo or video. You can see the thumbnail easily and if you select it, you can view a larger version on the screen. As long as the software is Chrome OS 69 or higher, the Chromebook will automatically save all of the photos and videos in the ‘Downloads’ folder. From here you can delete a photo, save it to a more specific location, or print it by selecting the ‘Print’ icon. Lastly, you can select the pencil icon to edit your Chromebook photos however you’d like, whether it’s cropping, rotating, or adding a moody sepia tone.
Source: Google
About The Author


